This year we took All Day Hey! online during the pandemic in a new offering from Hey! called All Day Hey! Live, and I wanted to write up a post on how we delivered it from a technical perspective. The process of taking an in-person conference online was no small feat, and I’m grateful for all the support from the production team, Harry, the speakers and Phil (our brilliant MC) for helping make it a reality. I led the technical process of the broadcast, and everything in between, so I feel there is value in documenting how I did it in the hope that others can benefit from what I learned.
- Why take an in-person conference online?
- Social
- Ticketing
- Live Portal
- Pre-record
- Software
- Hardware
- Broadcast
- Going Live
- Contingency
- Accessibility
- Support
- Closing
I want to thank Ian Landsman, who heads up Laracon Online for writing an excellent post on how they’ve been successfully delivering their conference for the last four years. It provided some pointers and verification on the approach I took.
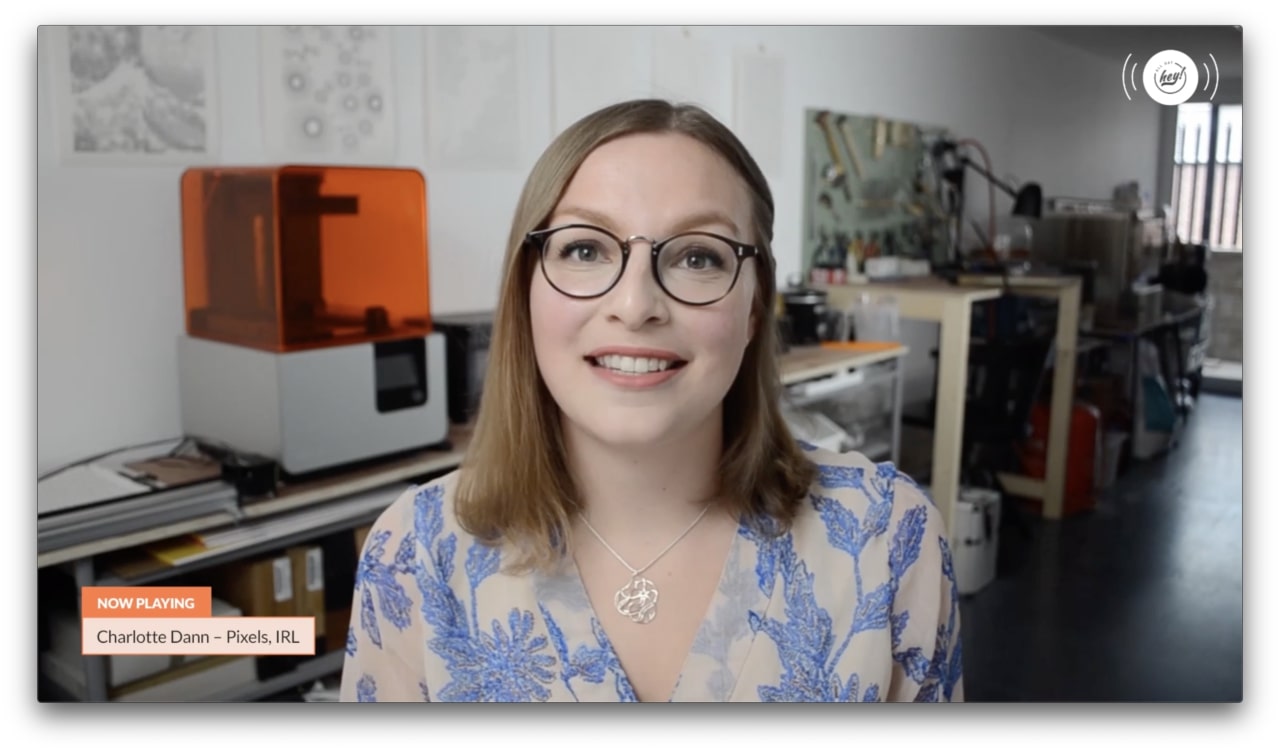
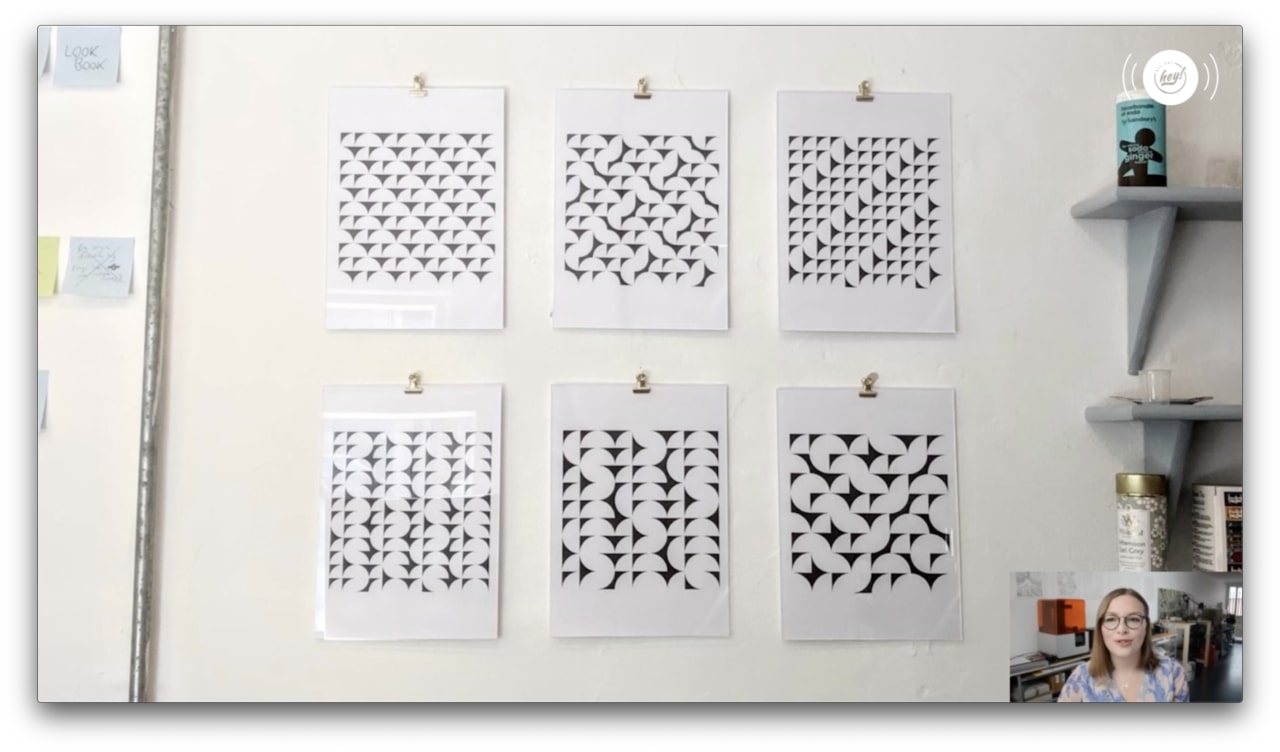
It’s worth noting that there are so many options when deciding to take a physical event online. The setup I settled with is by no way the most cost-effective but was one that I felt yielded the best results for what I wanted to achieve.
For All Day Hey! Live, this is the mixture of hardware and software I used for the broadcast:
- Wirecast Studio (including Wirecast Rendezvous)
- Zoom (with Webinar and Cloud Recording addons)
- Slack
- Eventbrite
- Loopback (and Music.app)
- Stream Deck
- Zoom H6 audio interface
- Shure SM58 Microphone (including pop filter/stand)
- In-ear headphones (for monitoring, I use ACS Evolve IEM’s)
- A “broadcast” machine, 16” MacBook Pro
- A “monitoring” machine for co-ordinating everything, iMac
- Heroku and Next.js
- A large pot of coffee
We also sent out production packs for speakers to pre-record their talks, which I’ll detail a little bit later on.
Why take an in-person conference online?
As the events of COVID-19 unfolded, we were watching as the world went into lockdown at the start of March. As the date for the conference grew closer, we knew there was little chance we would be able to go ahead as planned, so I started to look into how we could take the conference online. Aside from that, taking the event online is something I’ve always wanted to experiment with. We have an incredible community who support the in-person event, one I’m very grateful for; however I also wanted to see what we could do without the geographical boundaries of people having to travel to a specific location to attend. If we were going to pull this off, it had to deliver many of the things that make an in-person conference great: the social aspects, the knowledge sharing, the buzz of sharing ideas on the day. After a lot of research, I had the concept and tools to bring those factors into an online conference. On top of that, it’s now a platform we can reuse for Hey! and All Day Hey! moving forward if we wish, expanding the reach to much more people.
Social
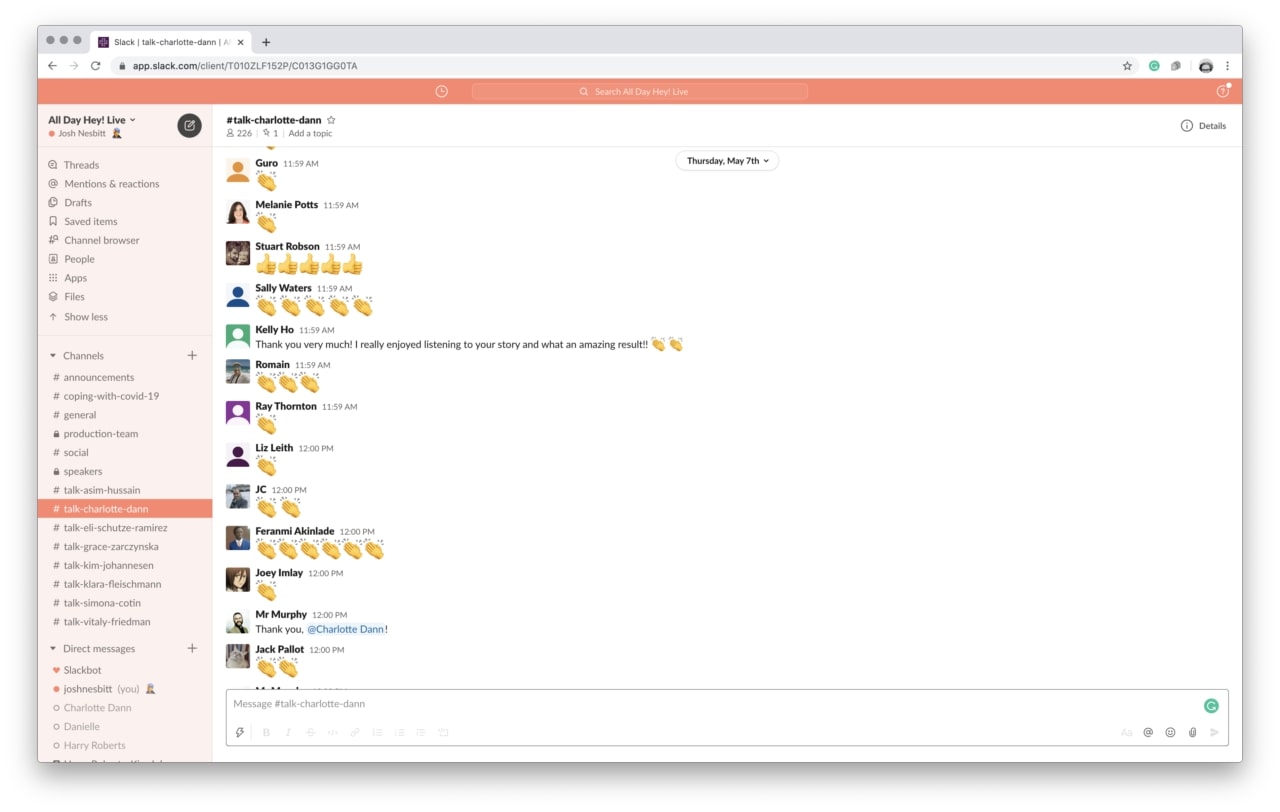
As I was keen to ensure the community aspects of the day didn’t go amiss, I wanted to ensure attendees could still reach out to speakers to ask questions. Furthermore, I thought it would be a good idea to make speakers available during their talks, adding another dimension to the live broadcast. We did this with a combination of the live stream in Zoom and a Slack channel for each talk. I was blown away by the amount of communication in each talk channel, everyone doing virtual applause as the speakers took the stage. A huge thank you must go to the speakers for getting involved in this, it added something unique to the day and attendees noted that it was another nice perk built into the ticket price.
Ticketing
There are many ticketing platforms to choose from when deciding how to ticket your event. I went with Eventbrite due to it being the best experience for attendees and for managing the event from the back-office. I appreciate they may not have the lowest fees, but considering we worked hard to keep the ticket price as accessible as possible, I felt comfortable with this compromise.
Eventbrite has some excellent features surrounding managing attendees that some ticketing providers miss. I used the email attendees functionality a fair bit, both with sending out access codes and segmenting attendee communication (so we could control the wording on the supporter emails vs the standard tickets, for example). I’d have liked more control over the email template so we could make the access to our live portal clearer. If I had more time, I’d probably consider pulling the email out from Eventbrite and into something like Mailchimp to reduce friction surrounding the email design and clarity of information. It’s essential to include all the key information in the first paragraph (which isn’t easy to do on Eventbrite) so those skimming the email on the day can get straight into the event.
Live Portal
Attendees had access to a live portal for all things related to the conference. The portal, hosted at alldayhey.com, is a small site built in Next.js and contains all the information surrounding the event such as speaker and talk listings, code of conduct and support information. On top of this relatively static collection of content, I built a simple paywall system to allow ticket codes to call an API with a code, and if it matched, display a live portal for that user containing all the information they needed to take part in the day. This portal also acts as a content library following the event, providing links to individual talks and the entire broadcast should anyone wish to watch the recordings again.
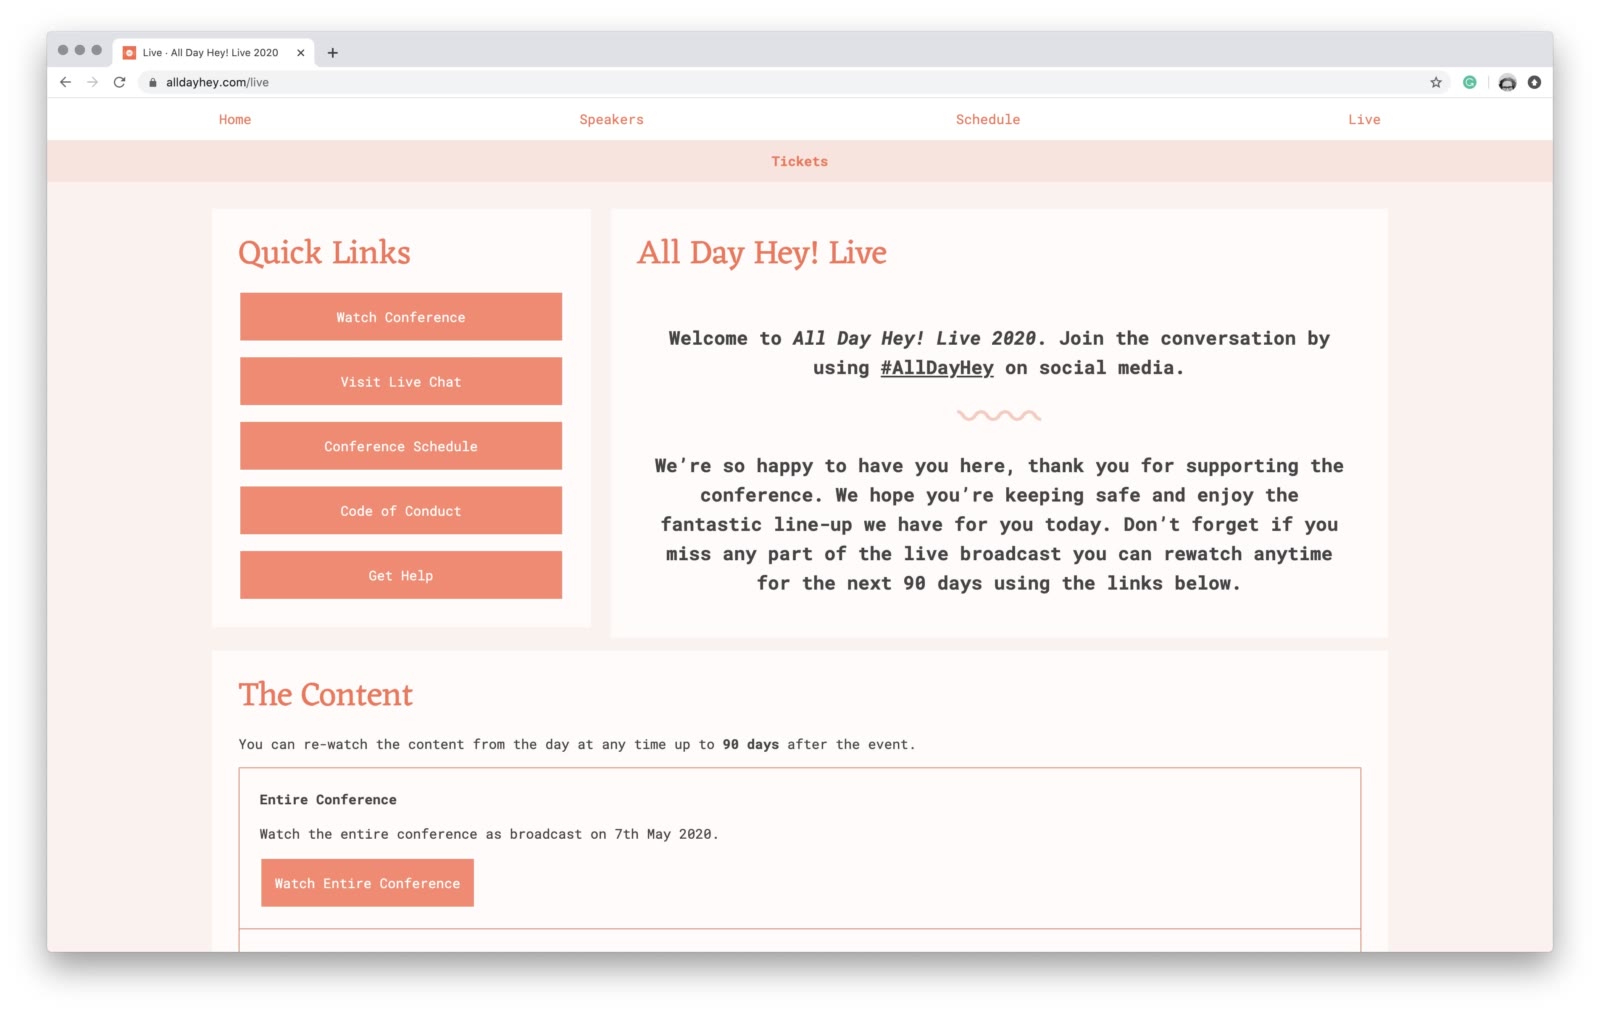
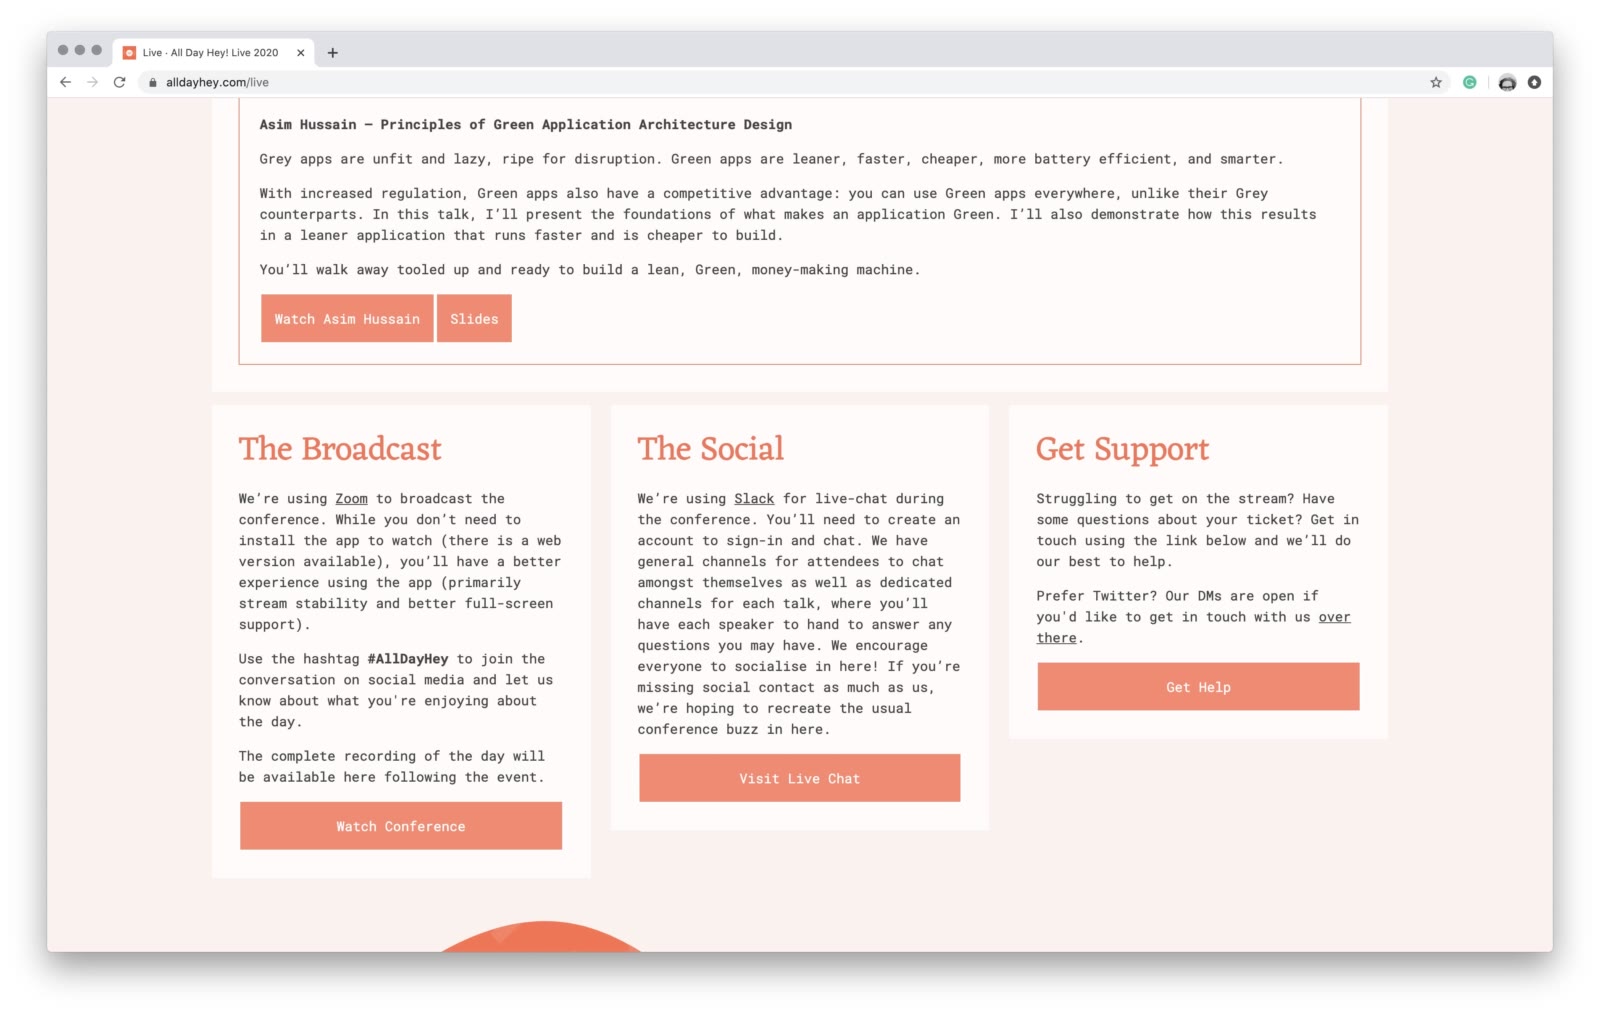
The purpose of this portal was primarily to direct people to the Zoom conference broadcast and the Slack instance. It also had support information if attendees had any issues during the day, as well as a place to report code of conduct breaches. Providing a single portal for people to access the content all in one place is particularly important for those who purchased tickets after the event. It’s a place for users to go if they want to watch content again in their own time.
Pre-record
The decision to pre-record the videos initially came from wanting to have the speakers available during their talk to answer questions. There were also a few additional perks to this approach.
Firstly we could edit the videos in a much more professional manner. Each speaker received a production pack (or politely declined based on already having a professional recording setup), containing:
- A GoPro Hero camera
- An SD card with enough storage for a few takes
- A Gorillapod for mounting the camera
- A USB C Lapel Microphone
We were keen to ensure that all videos were captured consistently, so we prepared the pack along with some instructions to ensure the speakers knew what was expected of them. All our speakers are seasoned professionals, so we had no concerns about the quality of what was being delivered, more that it was essential to have the style and quality of the recordings be consistent. This was especially important when editing the videos together, as we wanted to ensure presentation content wasn’t obscured by overlays such as Tweets and Slack mentions on the day.
Secondly, having the videos edited before the day meant we could upload them ready to watch again ahead of the event. Attendees wouldn’t have to wait to watch their favourite talks again as we edited them post-event as we’d typically have to do. Additionally, should an issue occur with the live stream, we would make these videos available immediately, so the attendees didn’t miss out.
Software
For pulling the production together, I chose Wirecast. Wirecast, like OBS Studio and a whole host of applications, allows you to pull media together into a single broadcast, which you can then publish to an array of destinations. Having used OBS Studio before Wirecast, I weighed up this as an option, but Wirecast ultimately won for a few reasons:
- Built-in virtual camera and microphone support (the Windows version of OBS Studio does have a plugin for this, but no Mac support)
- Twitter feed support for bringing tweets into the broadcast
- A cleaner interface for organising your layers and media
- Wirecast Rendezvous, the ability to pull remote media (such as someone else’s video/audio) into a stream from anywhere in the world
The virtual microphone and camera support were crucial to getting the broadcast into Zoom. I achieved this by enabling the virtual camera in Wirecast and setting the corresponding inputs in Zoom. When broadcasting video content, you have a whole host of options. For example, Facebook Live and Twitch use the RTMP protocol to send a stream of data to a broadcast server. Wirecast supports this protocol, but considering I had settled on using Zoom for the delivery of the conference, the virtual camera worked just as well. Another benefit of Wirecast is the ability to publish to as many sources as you want. If we wanted to we could have streamed on Zoom, YouTube Live, Facebook Live and Twitch all at once.
Fun fact; Wirecast is used by the British Government to broadcast the daily briefings during the pandemic, this requires syndicating the content to many different providers to allow the mainstream media to cover the news in real-time.
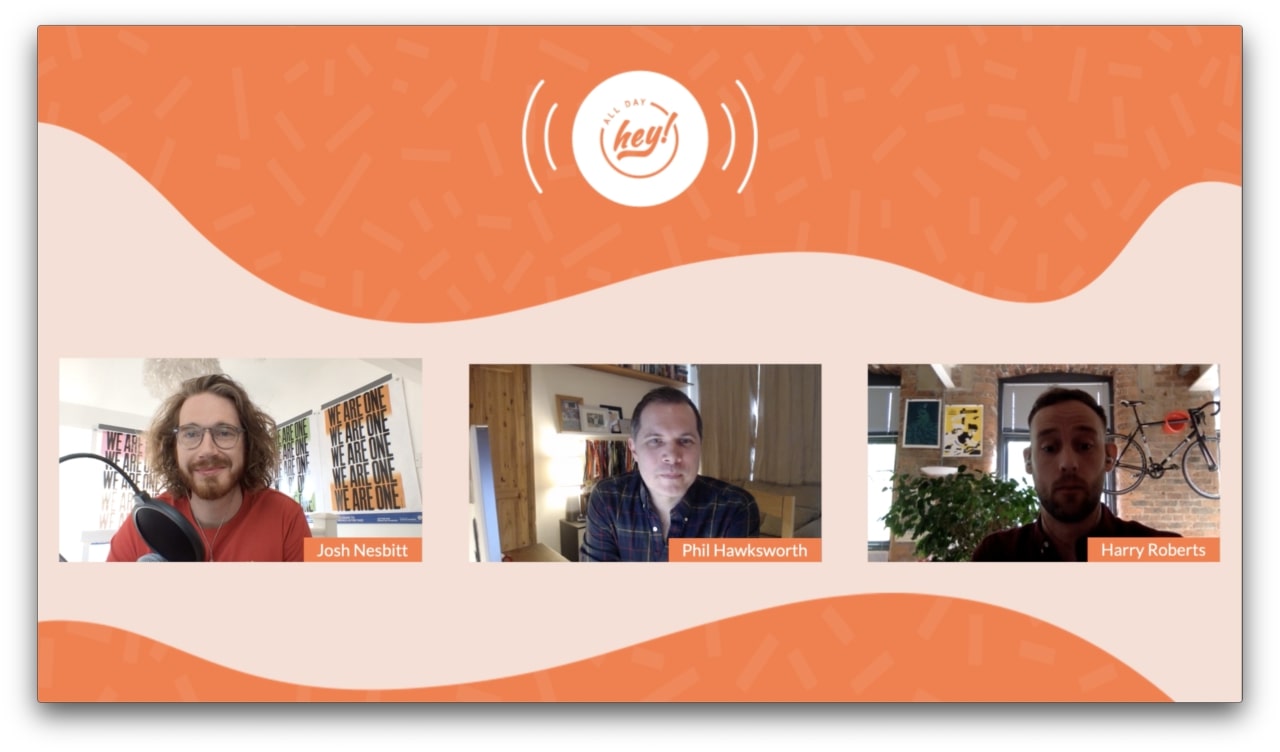
Wirecast Rendezvous is also another crucial feature. By starting a Rendezvous session, you can send a link to anyone to feed their audio/video into Wirecast. You can then select this as a video source (with audio) to use on any layer. Using Wirecast Rendezvous, we could achieve a low-latency conference call inside the stream with myself, Phil and Harry all on one shot. The added benefit of this approach is that I had a “green room” between the three of us all day off-air. It allowed me to cue Phil up before his camera went live, as well as discuss the script and shout-outs key to the broadcast.
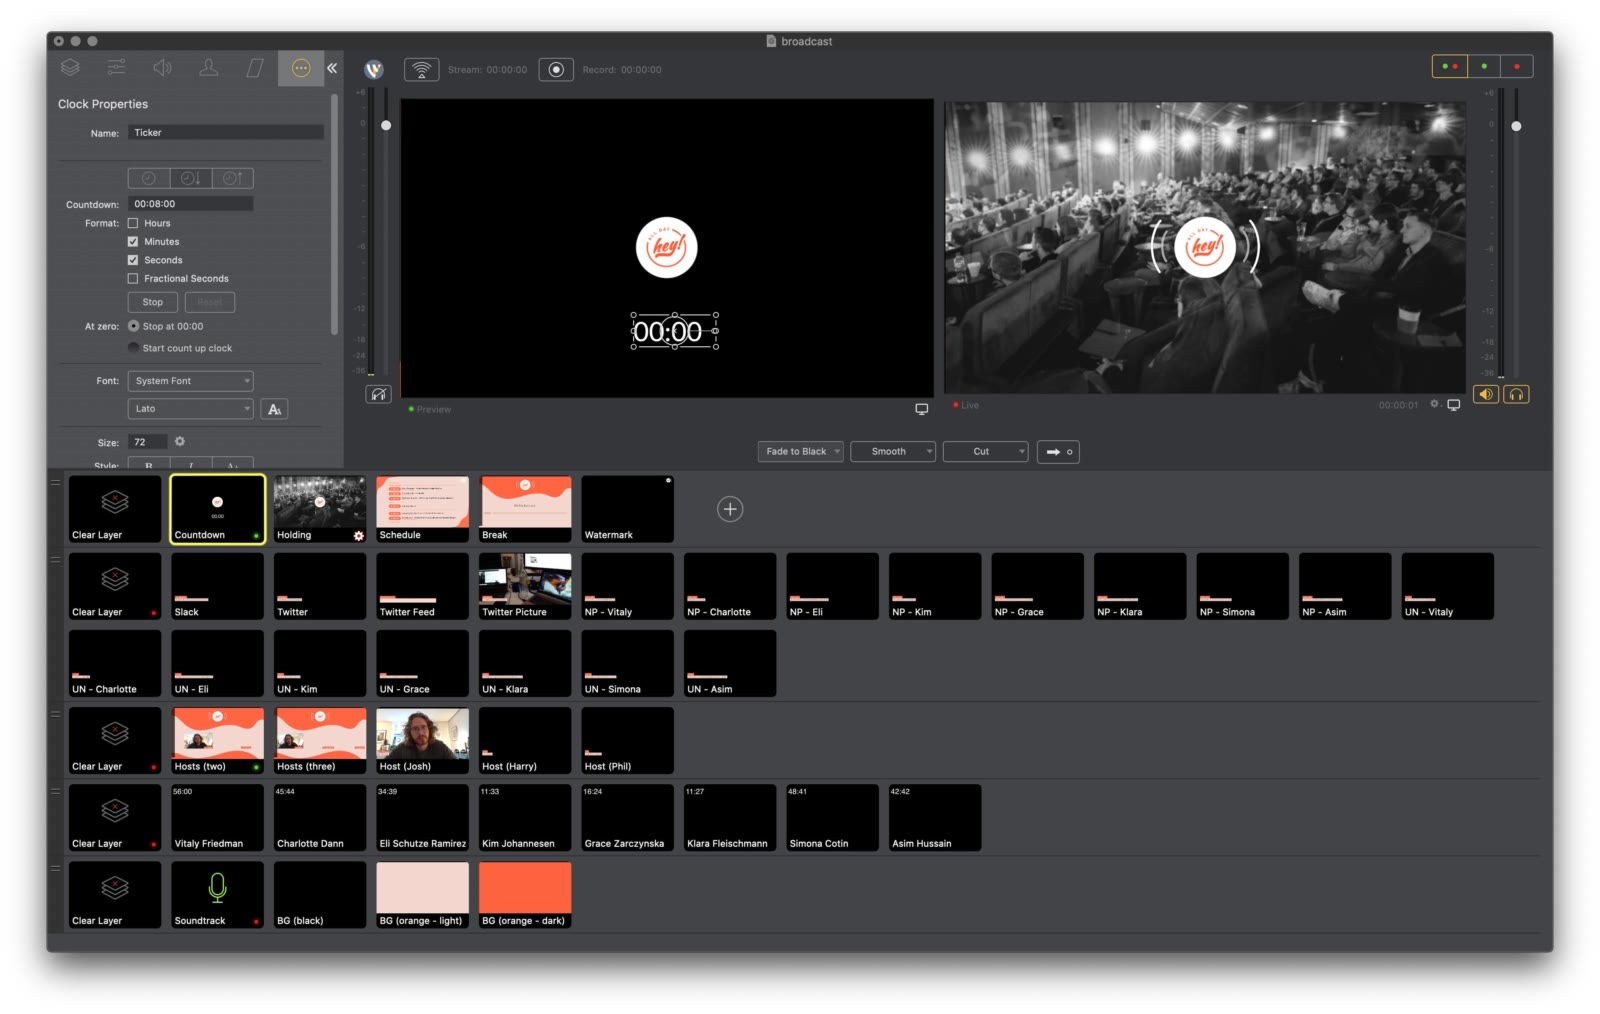
A lot of your time spent in Wirecast will be organising your layers and getting everything ready so that key shots are at your fingertips when you’re broadcasting. The Wirecast documentation describes layers as many television screens sat on top of one another, the top screen being the most visible. If the top layer doesn’t cover the entire screen, the content will be visible from the layer below, and so on. The same doesn’t quite apply to audio, as layer audio is mixed and can be blended, either using the Audio Mixer or the individual shot settings. My layers were organised in this order (from the bottom to top):
- Audio - All pure audio input sources, such as Music.app
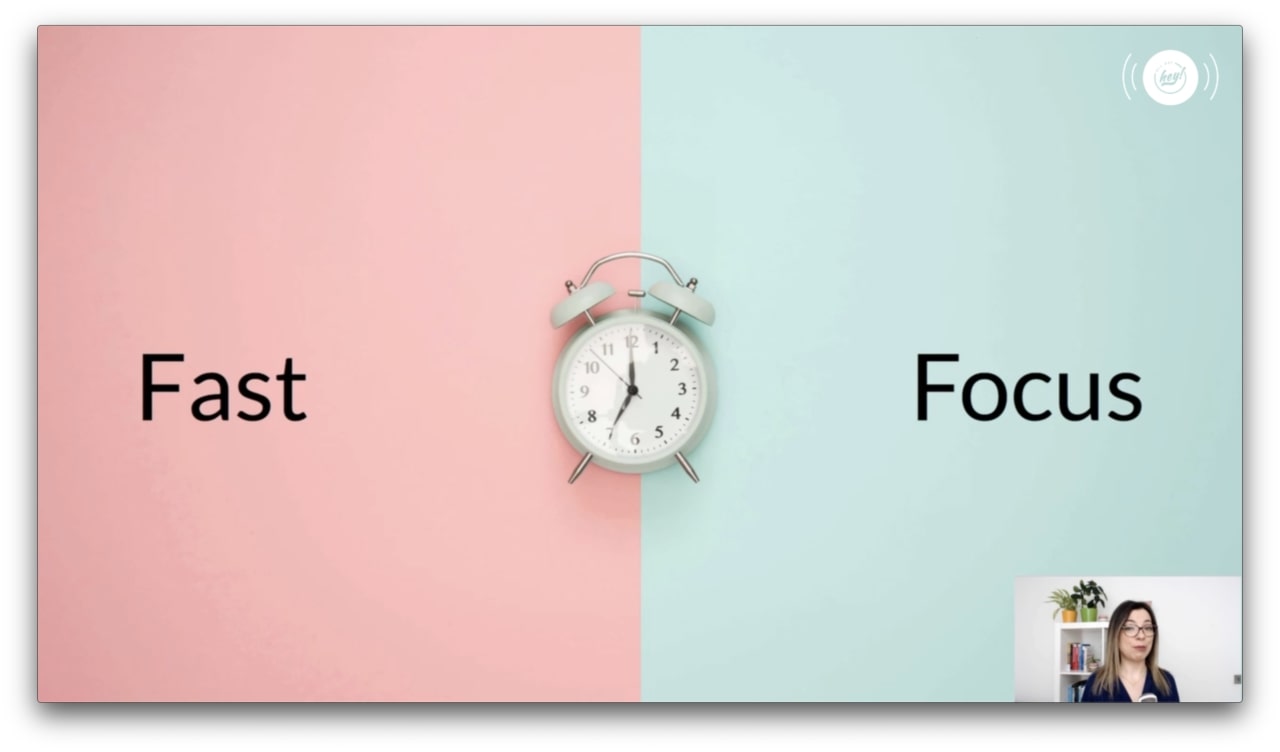
- Talks - The pre-recorded talks with views of the speaker and their slides edited into one single video
- Hosts - Individual or combined shots of the conference hosts and MC
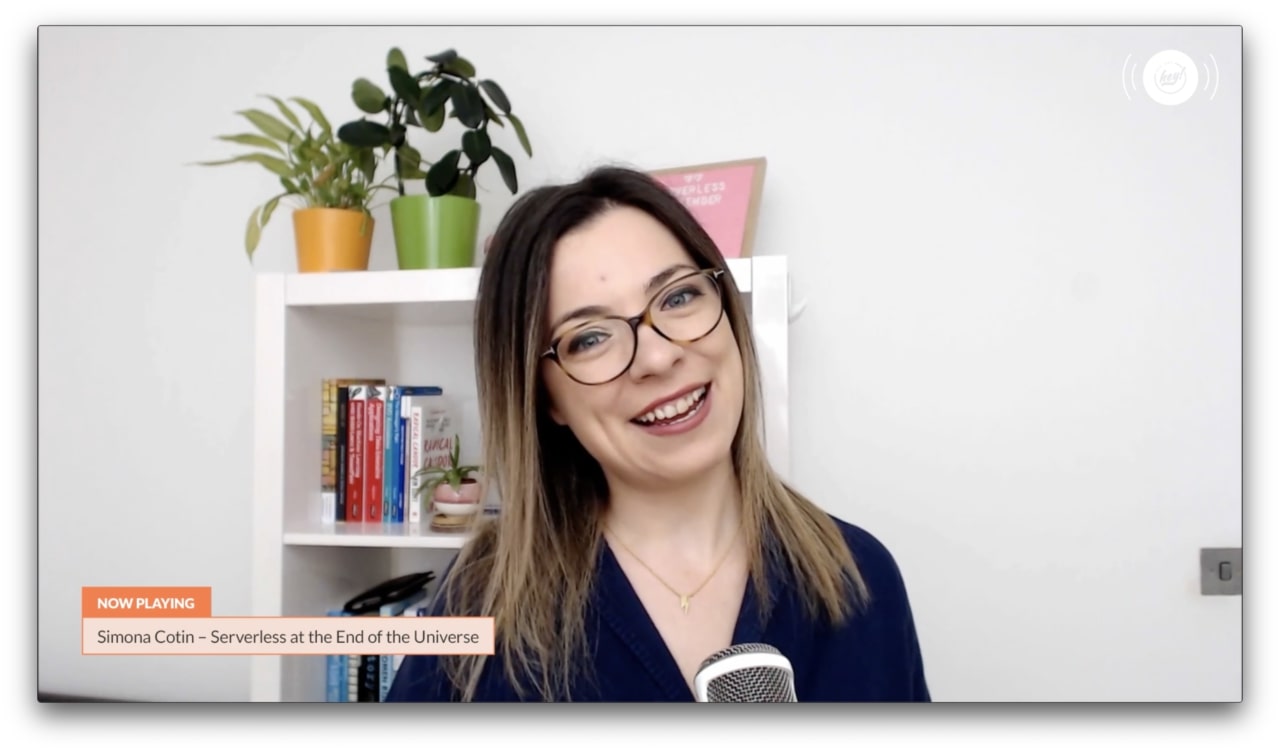
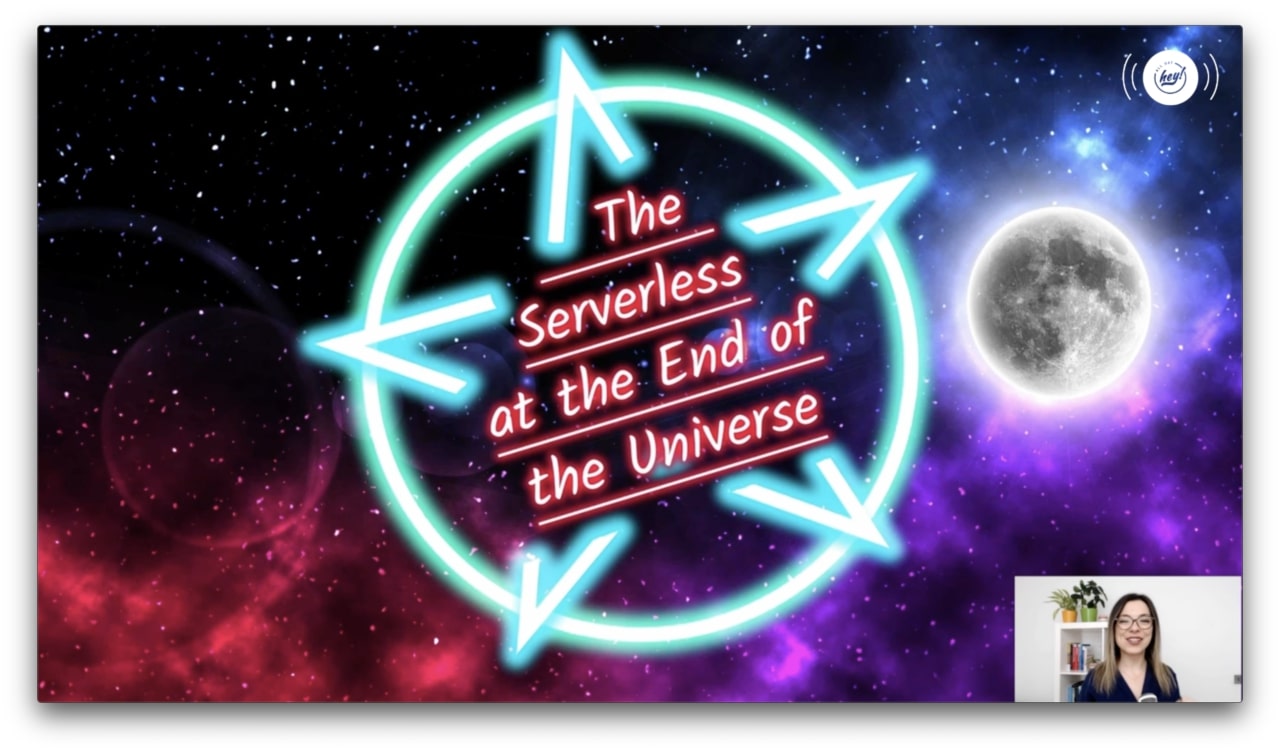
- Overlays - Such as Tweets, Slack prompts, Now Playing and Up Next information
- Holding Screens & Watermark - Screens I wanted to take over any other content being broadcast, such as the countdown, holding page, schedule and break animation. This layer also included a watermark which was layered over host and speaker videos
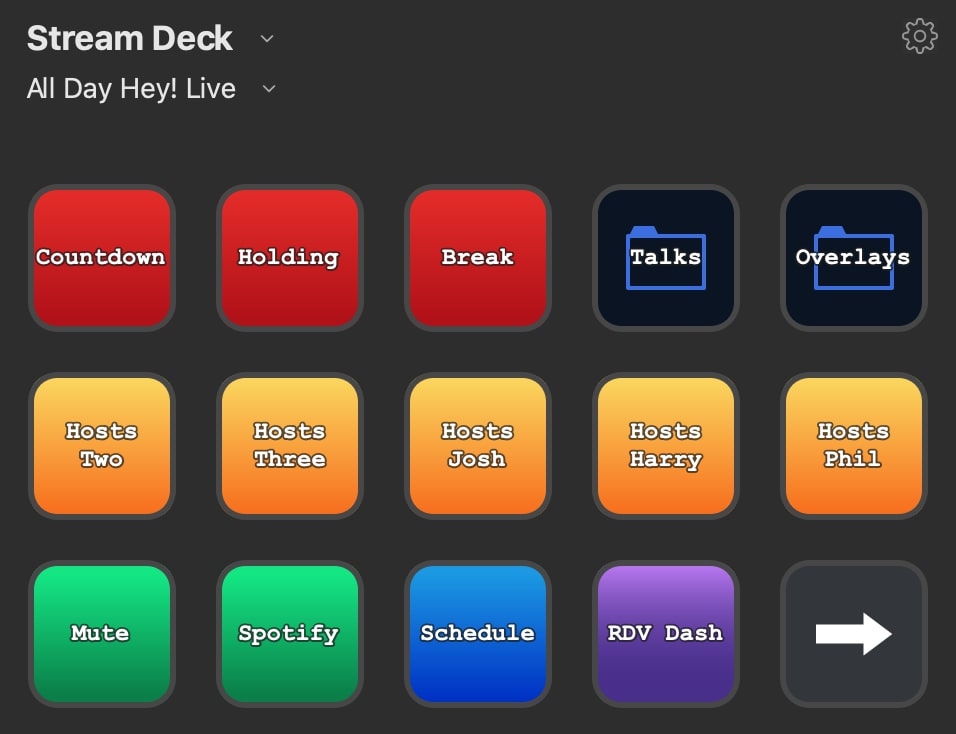
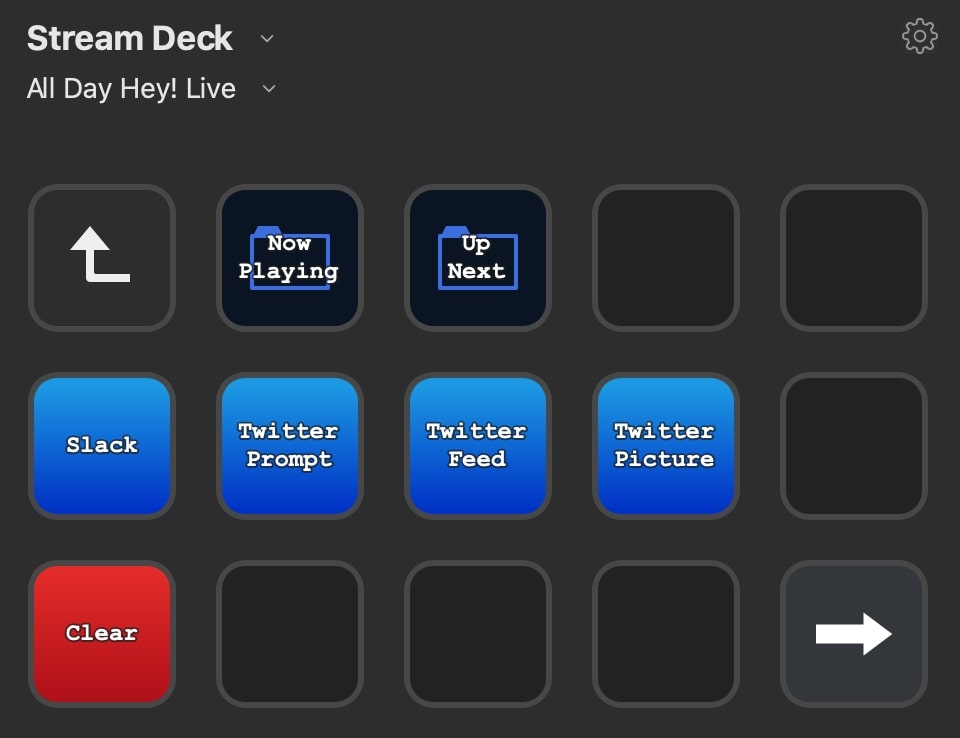
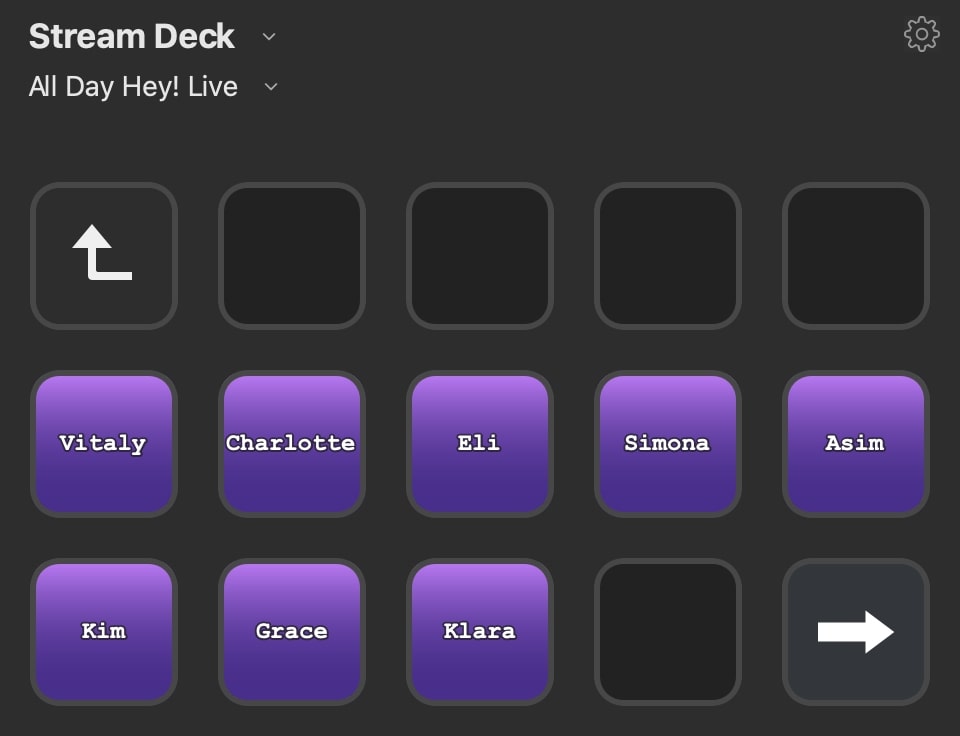
I used an Elgato Stream Deck configured with single and multi-shot triggers so I could quickly cut between scenes while on camera. I cannot recommend this approach enough, as the last thing you want to be thinking about when you’re live is which shots you need to trigger. I had keys setup to trigger the schedule page, the countdown screen, Phil’s camera and talks. I also organised overlays into a separate folder, which allowed me to overlay Twitter and Slack information at the touch of a button. All of this is about reducing the cognitive load while you’re on air. You want things to be as simple as possible; after all, the broadcast is the fun finale of months of preparation.
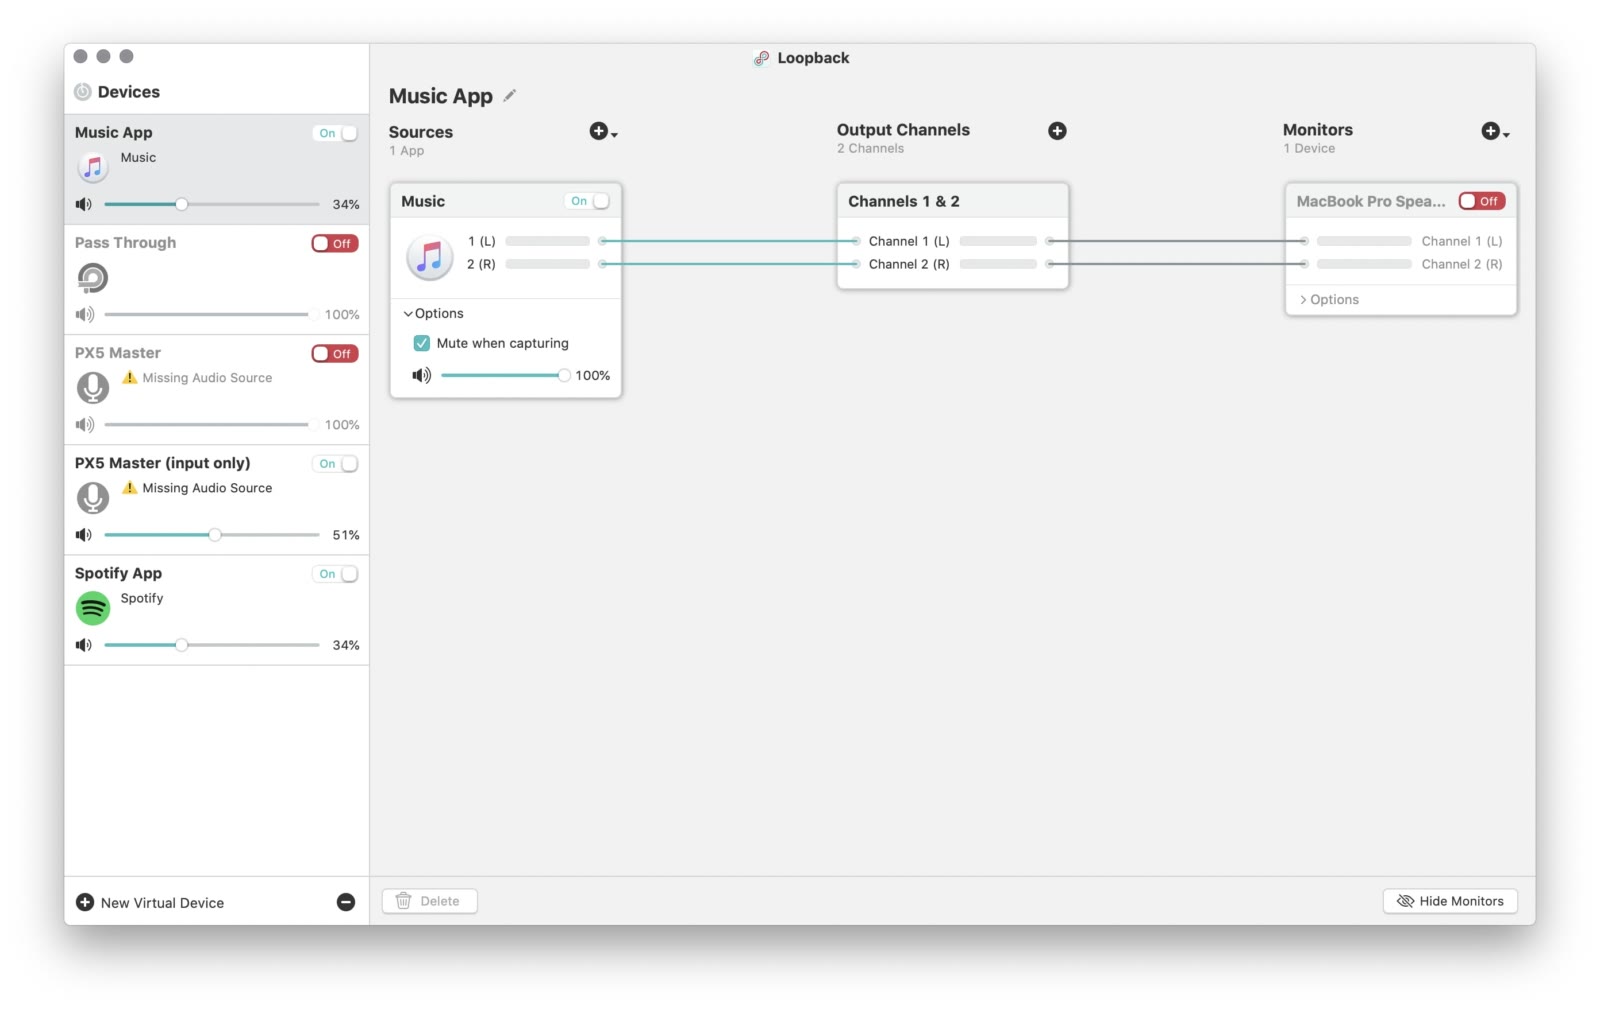
As mentioned previously, Wirecast can pull all sorts of media into shots. Most often these are videos (such as the pre-recorded talks), audio (such as microphone inputs), still images, overlays and watermarks (such as the conference logo). I used Apple’s Music.app to play music into Wirecast to provide a soundtrack for the day. I used a great Mac utility called Loopback, which allows more flexibility surrounding Mac audio routing. I specifically used it to send the soundtrack audio from Music.app into Wirecast without outputting the sound locally. This feature is particularly important as you want to be able to use the output from Music.app without it interrupting your Wirecast monitoring. If you didn’t do this step, you would always hear music even when the shot wasn’t live, making it very difficult to monitor the main broadcast.
Monitoring on the day is also crucial. I kept the Wirecast Audio Mixer open alongside monitoring the audio levels of individual shots to ensure the broadcast seemed consistent. Ensuring all audio is mixed consistently is really important; it’s one of those little things that contribute to a more professional broadcast, and something I’d recommend taking the time to master.
Hardware
I ran the broadcast off a new 16” Macbook Pro with an 8-core i9 and a fair bit of RAM. Alongside that machine, I used an iMac to run the conference operations off (participating in Slack, co-ordinating the social media strategy, answering support emails). I used two machines as I didn’t want the broadcast machine doing anything other than broadcasting and recording the stream.
I had a Zoom H6 audio interface with a Shure SM58 wired up to it as my microphone. You’ll find the SM58 in pretty much every music venue in the world, and it is a fantastic all-round microphone. I had it mounted on a stand with a pop filter and, although the SM58 has a built-in pop filter I find an external one does a better job of softening popping sounds commonly found in large chunks of talking.
I also had the Elgato Stream Deck. As mentioned previously, I had the Stream Deck configured to launch single and multi-shot layers in Wirecast, and it took a lot of the stress out of producing the show on the day.
I used my ACS Evolve in-ear monitors to monitor the audio for the day. These are overkill for this task, but I purchased them a while ago for DJing with, and I cannot rate them enough. As well as being custom moulded to your ears, the quality and depth of the sound make it a lot easier to notice when something isn’t quite sounding right. I’d also recommend the Shure SE range of in-ear headphones for a similar reason.

Broadcast
The conference broadcast used Zoom. Again, there are plenty of remote conference providers, with more popping up all the time as a result of the pandemic, after all, now is the time more than ever for people to feel connected through this sort of software. I went with Zoom due to having used it for quite a few years and being confident in its ability to handle large meetings. I have since heard good praise of Microsoft Teams and their presenter tools, but as we were ready to go with Zoom, I stuck with that.
One annoyance with Zoom was them disabling 1080p broadcasting for meetings around the time we did the broadcast. We still broadcasted at 720p, but it was frustrating for me considering how much time we’d invested in getting the speakers to record at a higher resolution. All attempts to contact Zoom Business Support were met with the tickets being automatically closed. That said, we didn’t have one complaint from attendees regarding the broadcast quality, and as the entire stream was recorded locally in 1080p, this wasn’t a problem when I uploaded the whole conference to watch again on YouTube later on.
Here are a few tips for broadcasting a conference in Zoom. Alongside the Zoom Pro plan, I’d also purchased the Cloud Recording and Webinar addons.
For audio:
- Ensure the Wirecast Virtual Microphone is selected as the input source
- Turn off “Automatically adjust microphone volume”, “Suppress persistent background noise” and “Suppress intermittent background noise” to ensure audio isn’t unintentionally dipped
- Turn on “Enable original sound” both in the setting and during the broadcast to ensure your original sound is broadcasted as-is. Technically you shouldn’t need the other settings if you do this, but I changed them just in case they altered the input in some way
For video:
- Ensure the Wirecast Virtual Camera is selected as the input source
- Ensure “Original ratio” and “Enable HD” is selected to broadcast at the correct aspect ratio and the highest resolution possible
- Turn off “Mirror my video” so the picture isn’t reversed. While this can also be done in Wirecast, there’s no point flipping the input twice
- Turn off “Touch up my appearance”, so Zoom doesn’t add filters to try and improve the colour palette of your broadcast
For webinar settings:
- Turn off raising hand so attendees can’t interrupt the broadcast (less likely in Webinar mode anyway)
- Turn off chat as we want to ensure everyone uses the Slack instance instead of the Zoom chat
- Enable Cloud Recording of the meeting, so we have a backup, just in case anything goes wrong with the local recording
- Turn on practice mode to ensure the broadcast can be tested before allowing attendees to join
It’s worth noting that during preparation for the event, Zoom released a new client version which broke virtual camera inputs due to the application being untrusted on Mac OS Catalina. This issue has since been fixed, but it took me a while to figure out until I found a thread explaining a workaround.
Ahead of time, I scheduled a few run-throughs of the setup with the team to ensure we had the webinar set up correctly on the day. One of the things that took us a bit of time to figure out was audio routing through Wirecast Rendezvous and ensuring that there was no feedback from each host. In most conference call software, there is some clever functionality that automatically cancels out feedback to the microphone when the speaker outputs sound. It stops a cyclical loop of a person talking, that speech being piped through a receiving client’s speakers, and that audio then getting sent back to the person who said it through the microphone again. We avoided this by having each host wear headphones to ensure their audio feed wasn’t fed back in this way.
Ahead of the conference going live on the day, we entered the webinar in practice mode to ensure everything was working before allowing public access.
Going Live
On the day of the event, it’s about putting all that preparation to good use! After an initial sound-check with the co-hosts who were dialled in through Wirecast Rendezvous, I made sure I had everything I needed at my fingertips. I ensured that Wirecast was pretty much the only thing running on the broadcast machine, and I had Stream Deck set up with the correct clips to launch when required.
After running through the production in Zoom with “practice mode” on, I enabled the meeting for the public, and we began to see the attendance numbers increase until we were at capacity. While the meeting filled up, this was a good time to reel through some holding screens, from the countdown to the conference starting to social media buzz that was already taking place on Slack and Twitter.
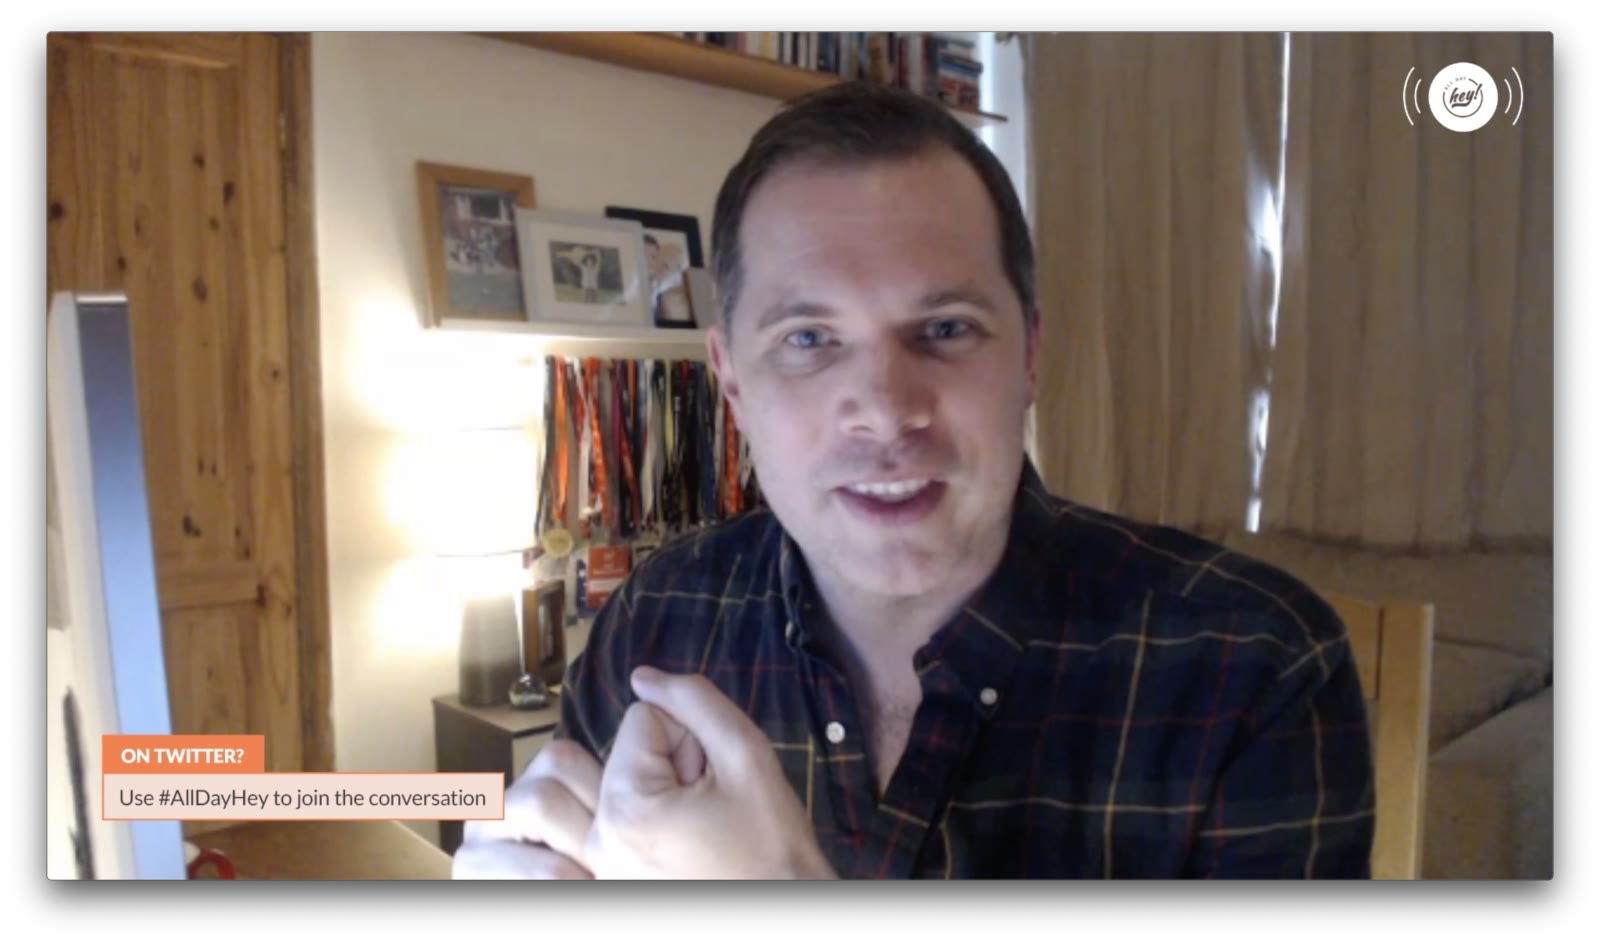
While this was happening, I had Phil in a “green room”, the off-air Wirecast Rendezvous dashboard, where we could chat and prepare for going live. As the countdown hit zero, I put my camera live and did my introduction, then welcomed Harry and Phil to do their introductions. And then we were off, Phil performed his MC duties just like the in-person conference.
Contingency
There are a few points of failure for this sort of event, the first of which is a catastrophic internet failure. As you’re broadcasting the whole thing from a single location, there’s a chance an internet outage could occur and take the entire thing offline. If this were to happen, I’d recommend having a backup 4G router to hand, just in case you need to get back online quickly. Fortunately, this didn’t happen on the day, and I was also running off a wired connection for speed and stability.
Ahead of the event, I’d prepared a Pull Request for the alldayhey.com app containing an updated live portal page with the links to each individually edited video already uploaded. Should the worst happen, I could have always deployed this page earlier on so attendees didn’t lose the ability to enjoy the content from the day.
Accessibility
One thing I was keen to make work was live closed captioning. After being pointed in the right direction by Remy from ffconf, I reached out to a company who could provide captioning in real-time, plugged into Zoom. The company provided a very reasonable quote, but the numbers didn’t stack up for our budget. Next time I want to ensure we factor this in, as it can make a big difference, not only for those who require subtitles but also as an additional aid for everyone. I know a lot of people who prefer to read the captions on videos as well as listening to help them digest the information being presented, and it’s something I’ve found myself doing more and more.
On top of the captions, there are other things I’m looking to improve next time, from the process of buying tickets to accessing the content after the event. Accessibility is a task that is never really “done” when putting on events; there is always more you can do when trying to ensure everyone can enjoy your event. Improving these touches is a long term goal for the conference and something I’m always learning from.
Support
Throughout the whole day, I was also manning support tickets. Along with helping attendees get access to the Zoom broadcast and into Slack, I also helped with people wanting to purchase tickets to gain access as the stream happened. This was a nice addition to ticket sales, caused directly as a result of the social commentary happening on the day. Not only could people get immediate access to the stream, but they’d also gain access to watch it again following the event.
Most importantly, I kept an eye on the support tickets should any concerns surrounding the code of conduct be raised. This is always something we take very seriously. While we haven’t had an issue to date, should we ever have problems in this area I would want to know we handled a communication surrounding this with speed and professionalism.
Closing
I had so much fun putting on All Day Hey! Live this year. Taking the time to learn how to deliver a live event properly meant I discovered a lot about streaming, audio and video. I’d recommend digging into Wirecast and OBS Studio if you have the time.
I hope this post has given an insight into what’s involved when taking an event online. Please let me know what you thought of it on Twitter, and reach out if you’re curious to anything else I may have missed in this write-up.
Find out more about All Day Hey!